
How to Nail Holiday Mantel Styling (In 3 Easy Layouts)
Steal my exact shopping list + see how I’d style each piece here
This post contains affiliate links, which means I may earn a small commission if you shop through them — at no extra cost to you. I only share things I’d use myself, promise.
You know those holiday mantels that look like they belong in a magazine? The ones that somehow feel expensive yet cozy, like every piece just landed in place?
That’s not luck (and it’s not a $5,000 install either). It’s strategy.
And once you know the formula, it gets easy.
Most people overdecorate or under-think it. They layer in ten different textures, forget about proportion, or throw a $14 garland on a dark wood mantel and wonder why it still feels... meh.
This guide is different.
I’m breaking down how I style mantels for clients and content — the exact layouts, pieces, and color pairings I use to get that “quiet luxury” holiday look without the chaos.
Ready to knock Santa’s hat off? Let’s go.
The Three Formulas That Always Work
The key to a designer-level mantel isn’t buying more things. It’s knowing how to place what you have and why you’re placing it there.
Most people instinctively center one item and then get stuck: do I mirror it? Fill the whole thing? Add height?
Suddenly it’s chaos or way too sparse, and the whole room feels “off.”
These are the three layouts I use all the time whether I’m working on a photo shoot, a client’s home, or my own space at 1am because I couldn’t leave it alone.
What matters most is that each one has a clear visual rhythm. I’ll walk you through what each layout looks like in real life, how it feels, and how to build it.
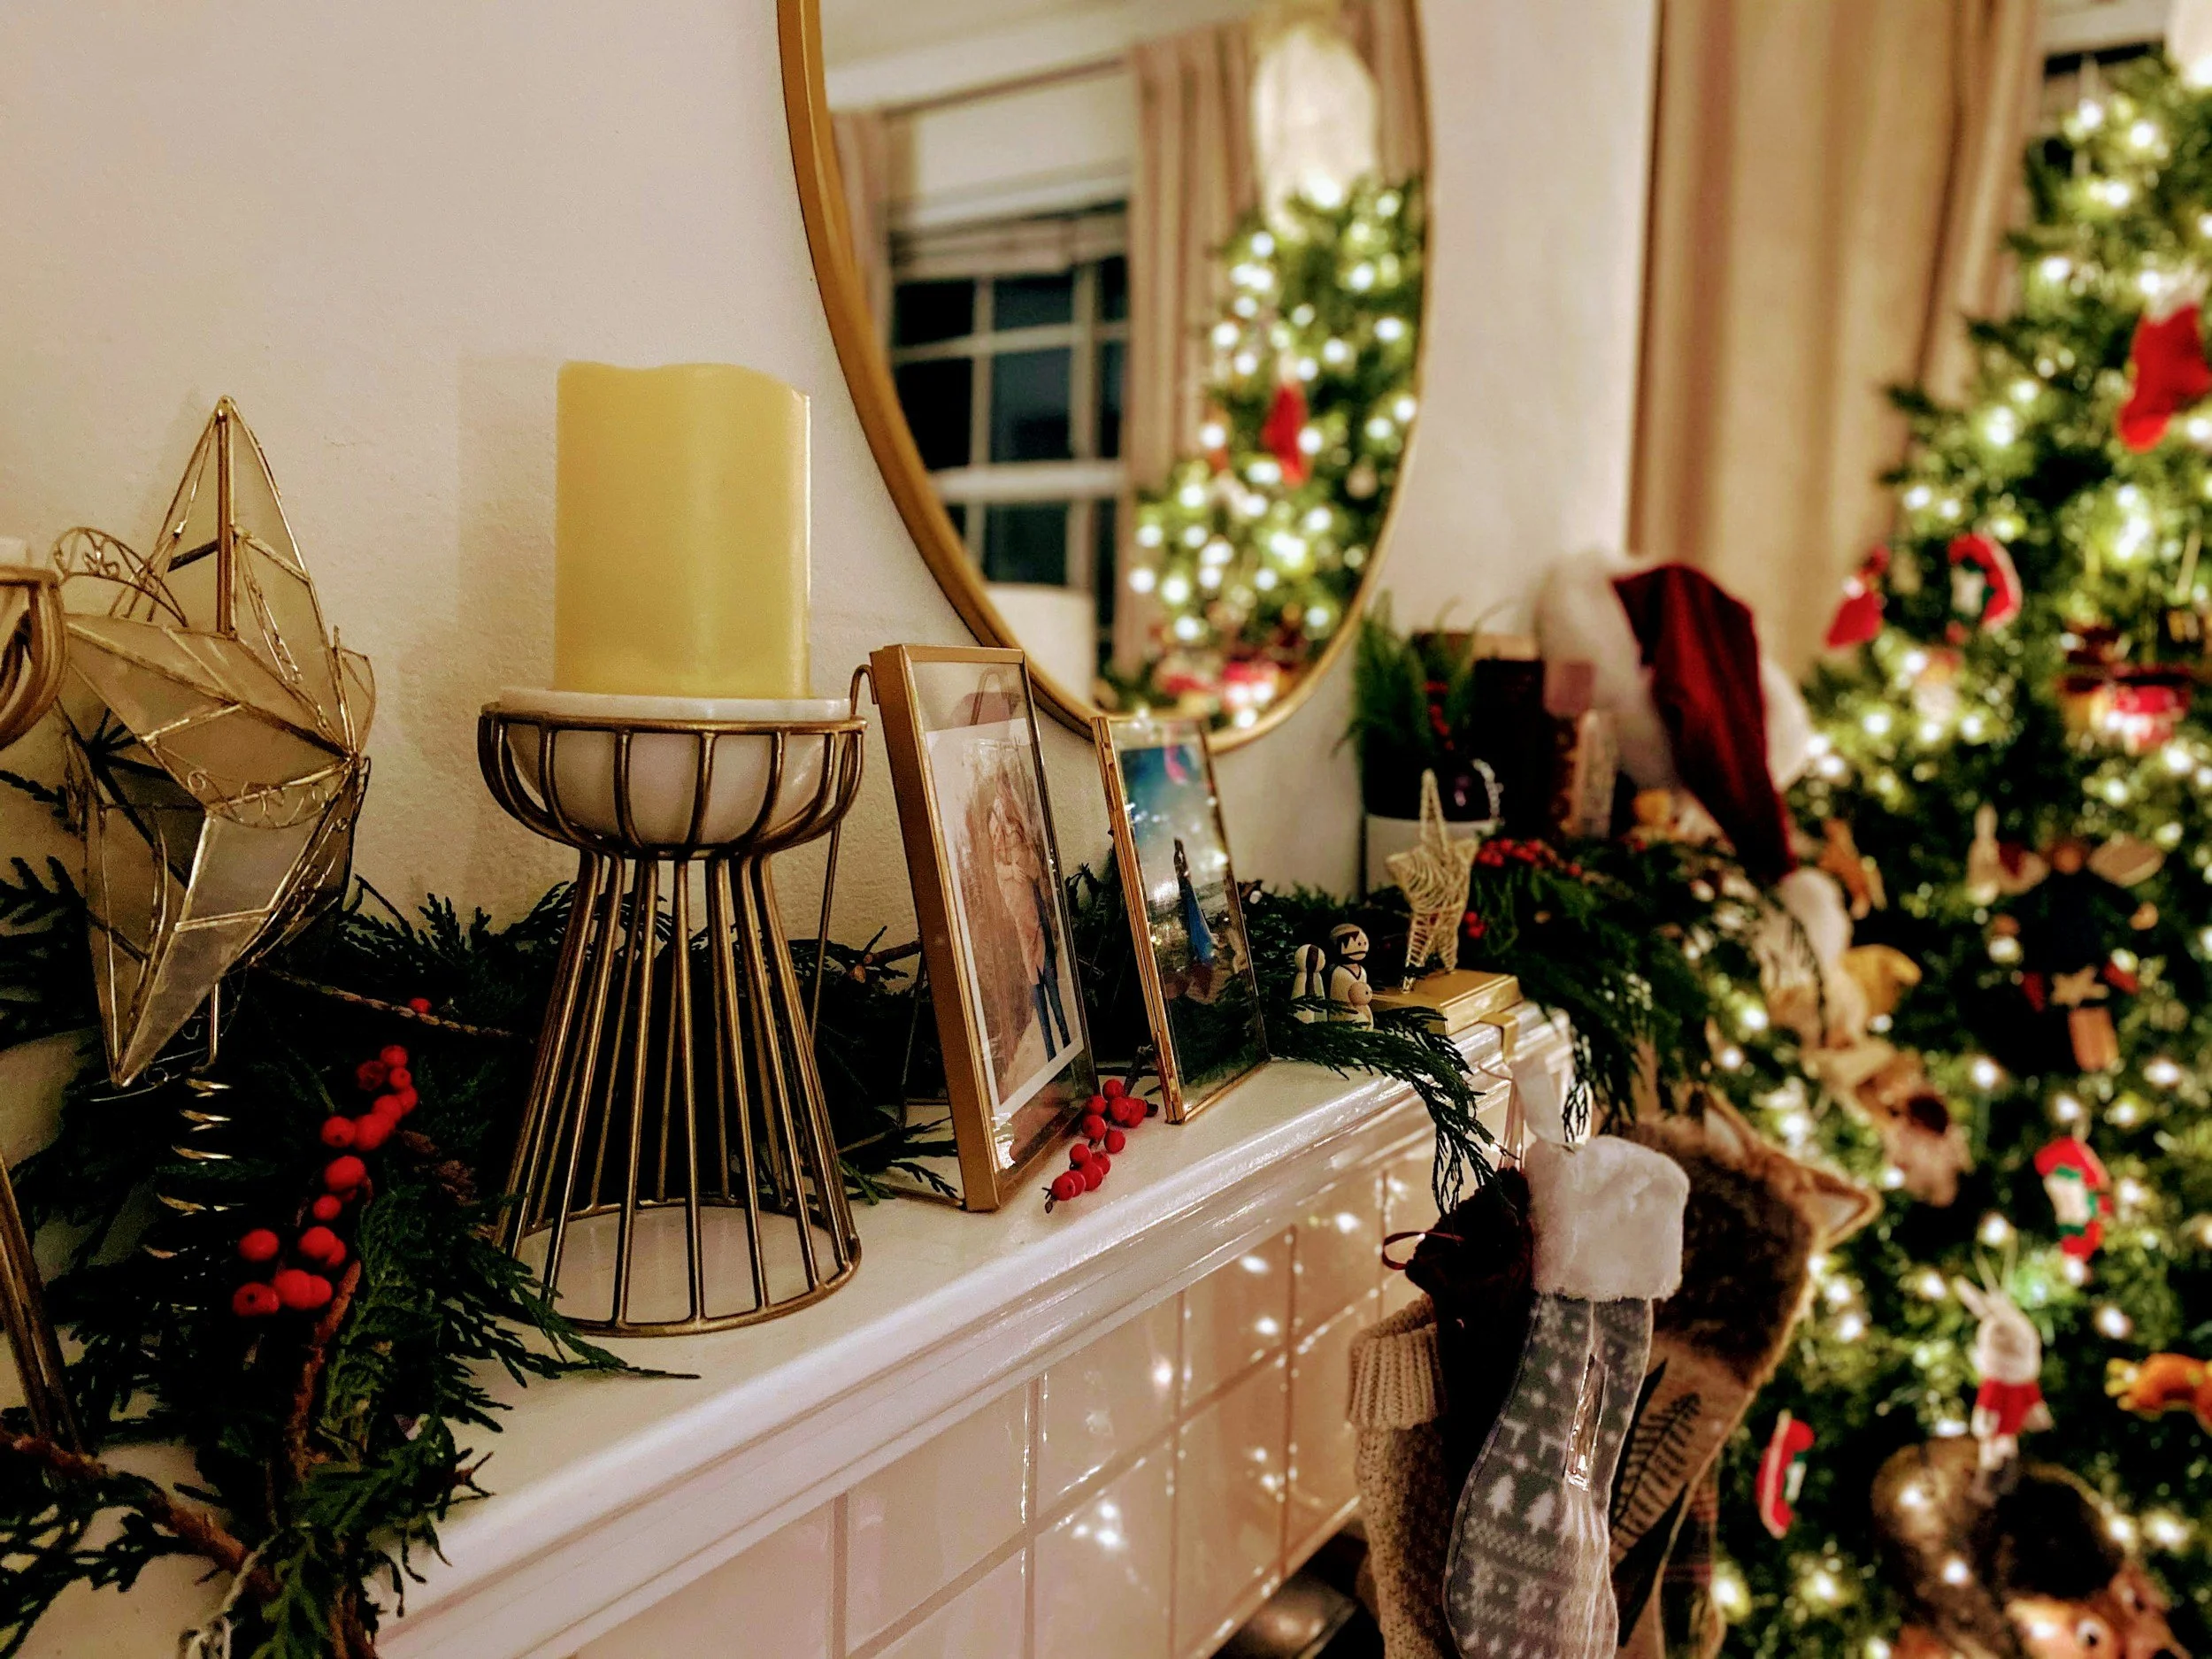
The Framed Centerpiece

If you’re someone who needs symmetry to feel calm (hi, same), this is the layout that’s going to make your brain go “ahhh.” It’s classic, polished, and works really well if your mantel is already centered beneath a TV, a piece of art, or a mirror you love.
Start by choosing your centerpiece. It could be that round mirror, a wreath, a framed print — anything that gives the look a sense of height and anchors the middle.
If you’re using a wreath, try hanging it slightly lower than you think you should. Most people put it too high and then wonder why everything feels disconnected. You want it close enough to feel part of the whole setup, not floating above it.
Next, add taller elements to both sides: candlesticks are the easiest, but you can also do vases, little ceramic trees, or anything that feels sculptural.
They don’t need to match perfectly, but they should be similar in scale and vibe. You’re creating a frame around the centerpiece, not trying to copy-paste one side to the other.
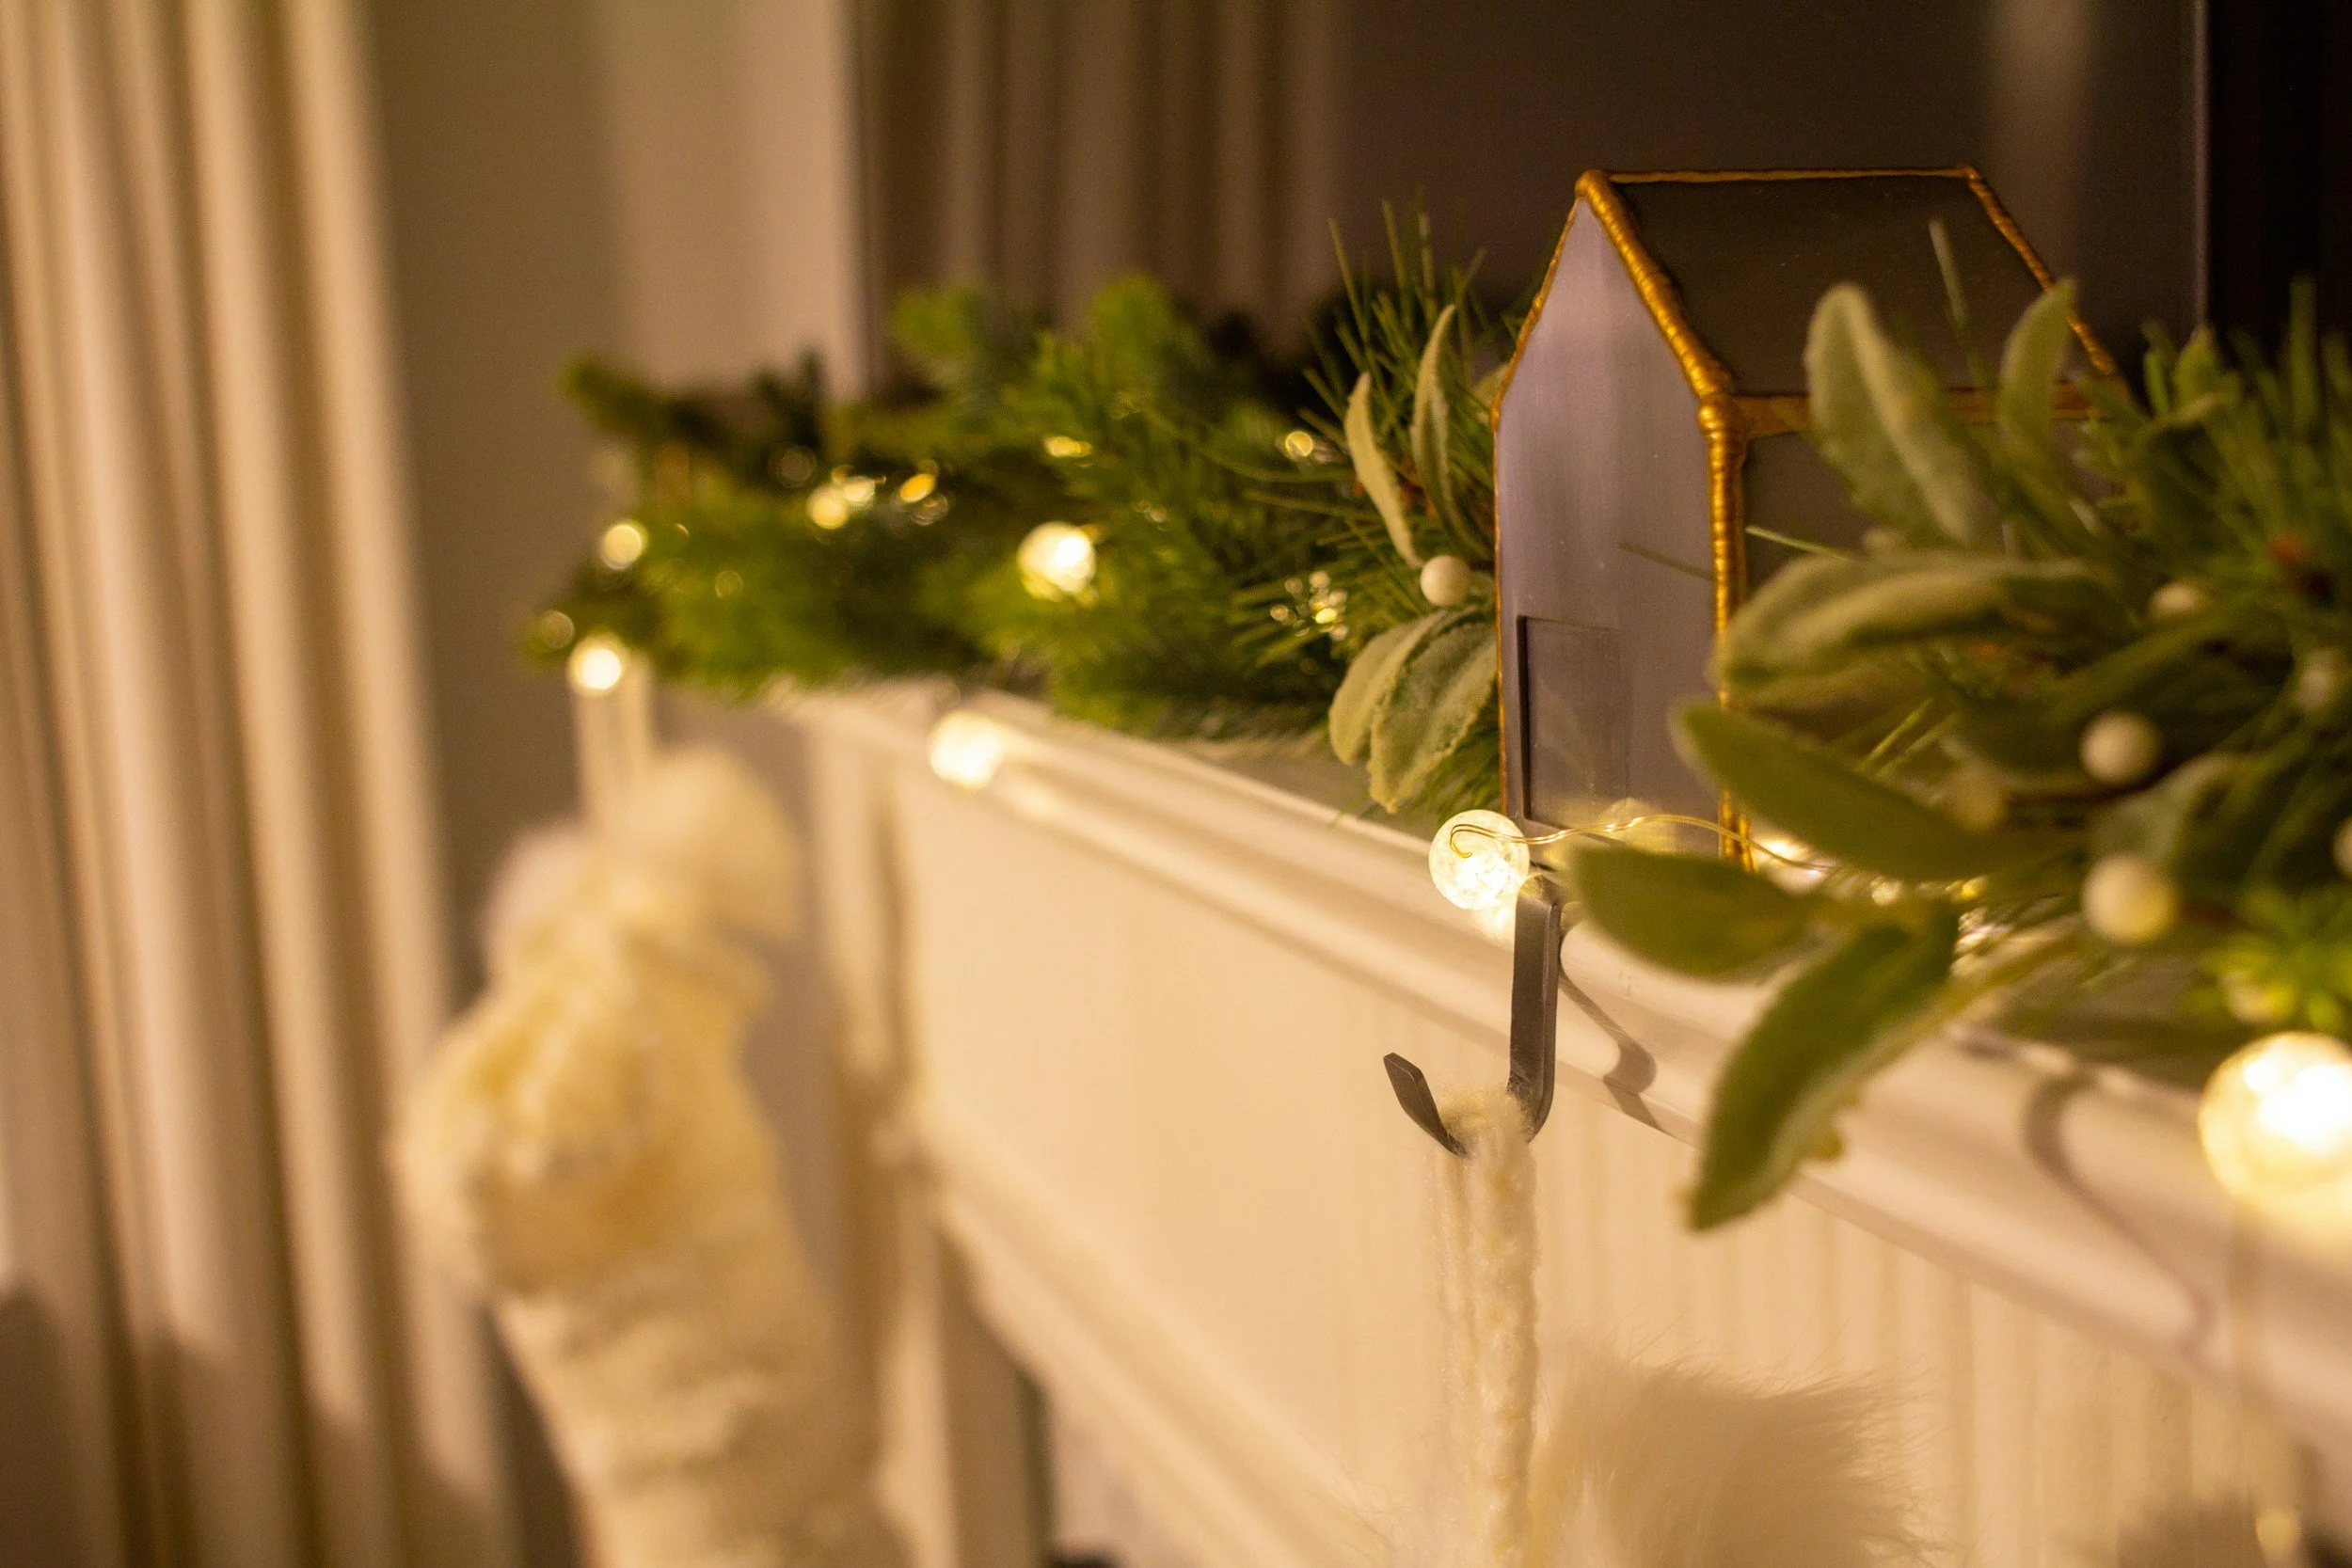
Now for the garland. Instead of laying it flat like a table runner, let it dip slightly in the middle so it mimics the shape of the setup above.
You can even tack it down at three points to help it hold that curve.
And if you want to be fancy (but not actually try harder), tie a bit of velvet ribbon around the ends and let them trail down casually. It adds just enough softness without feeling fussy.
This gives you just enough structure to feel finished without boxing you into anything too specific, which is probably why clients request it over and over again.
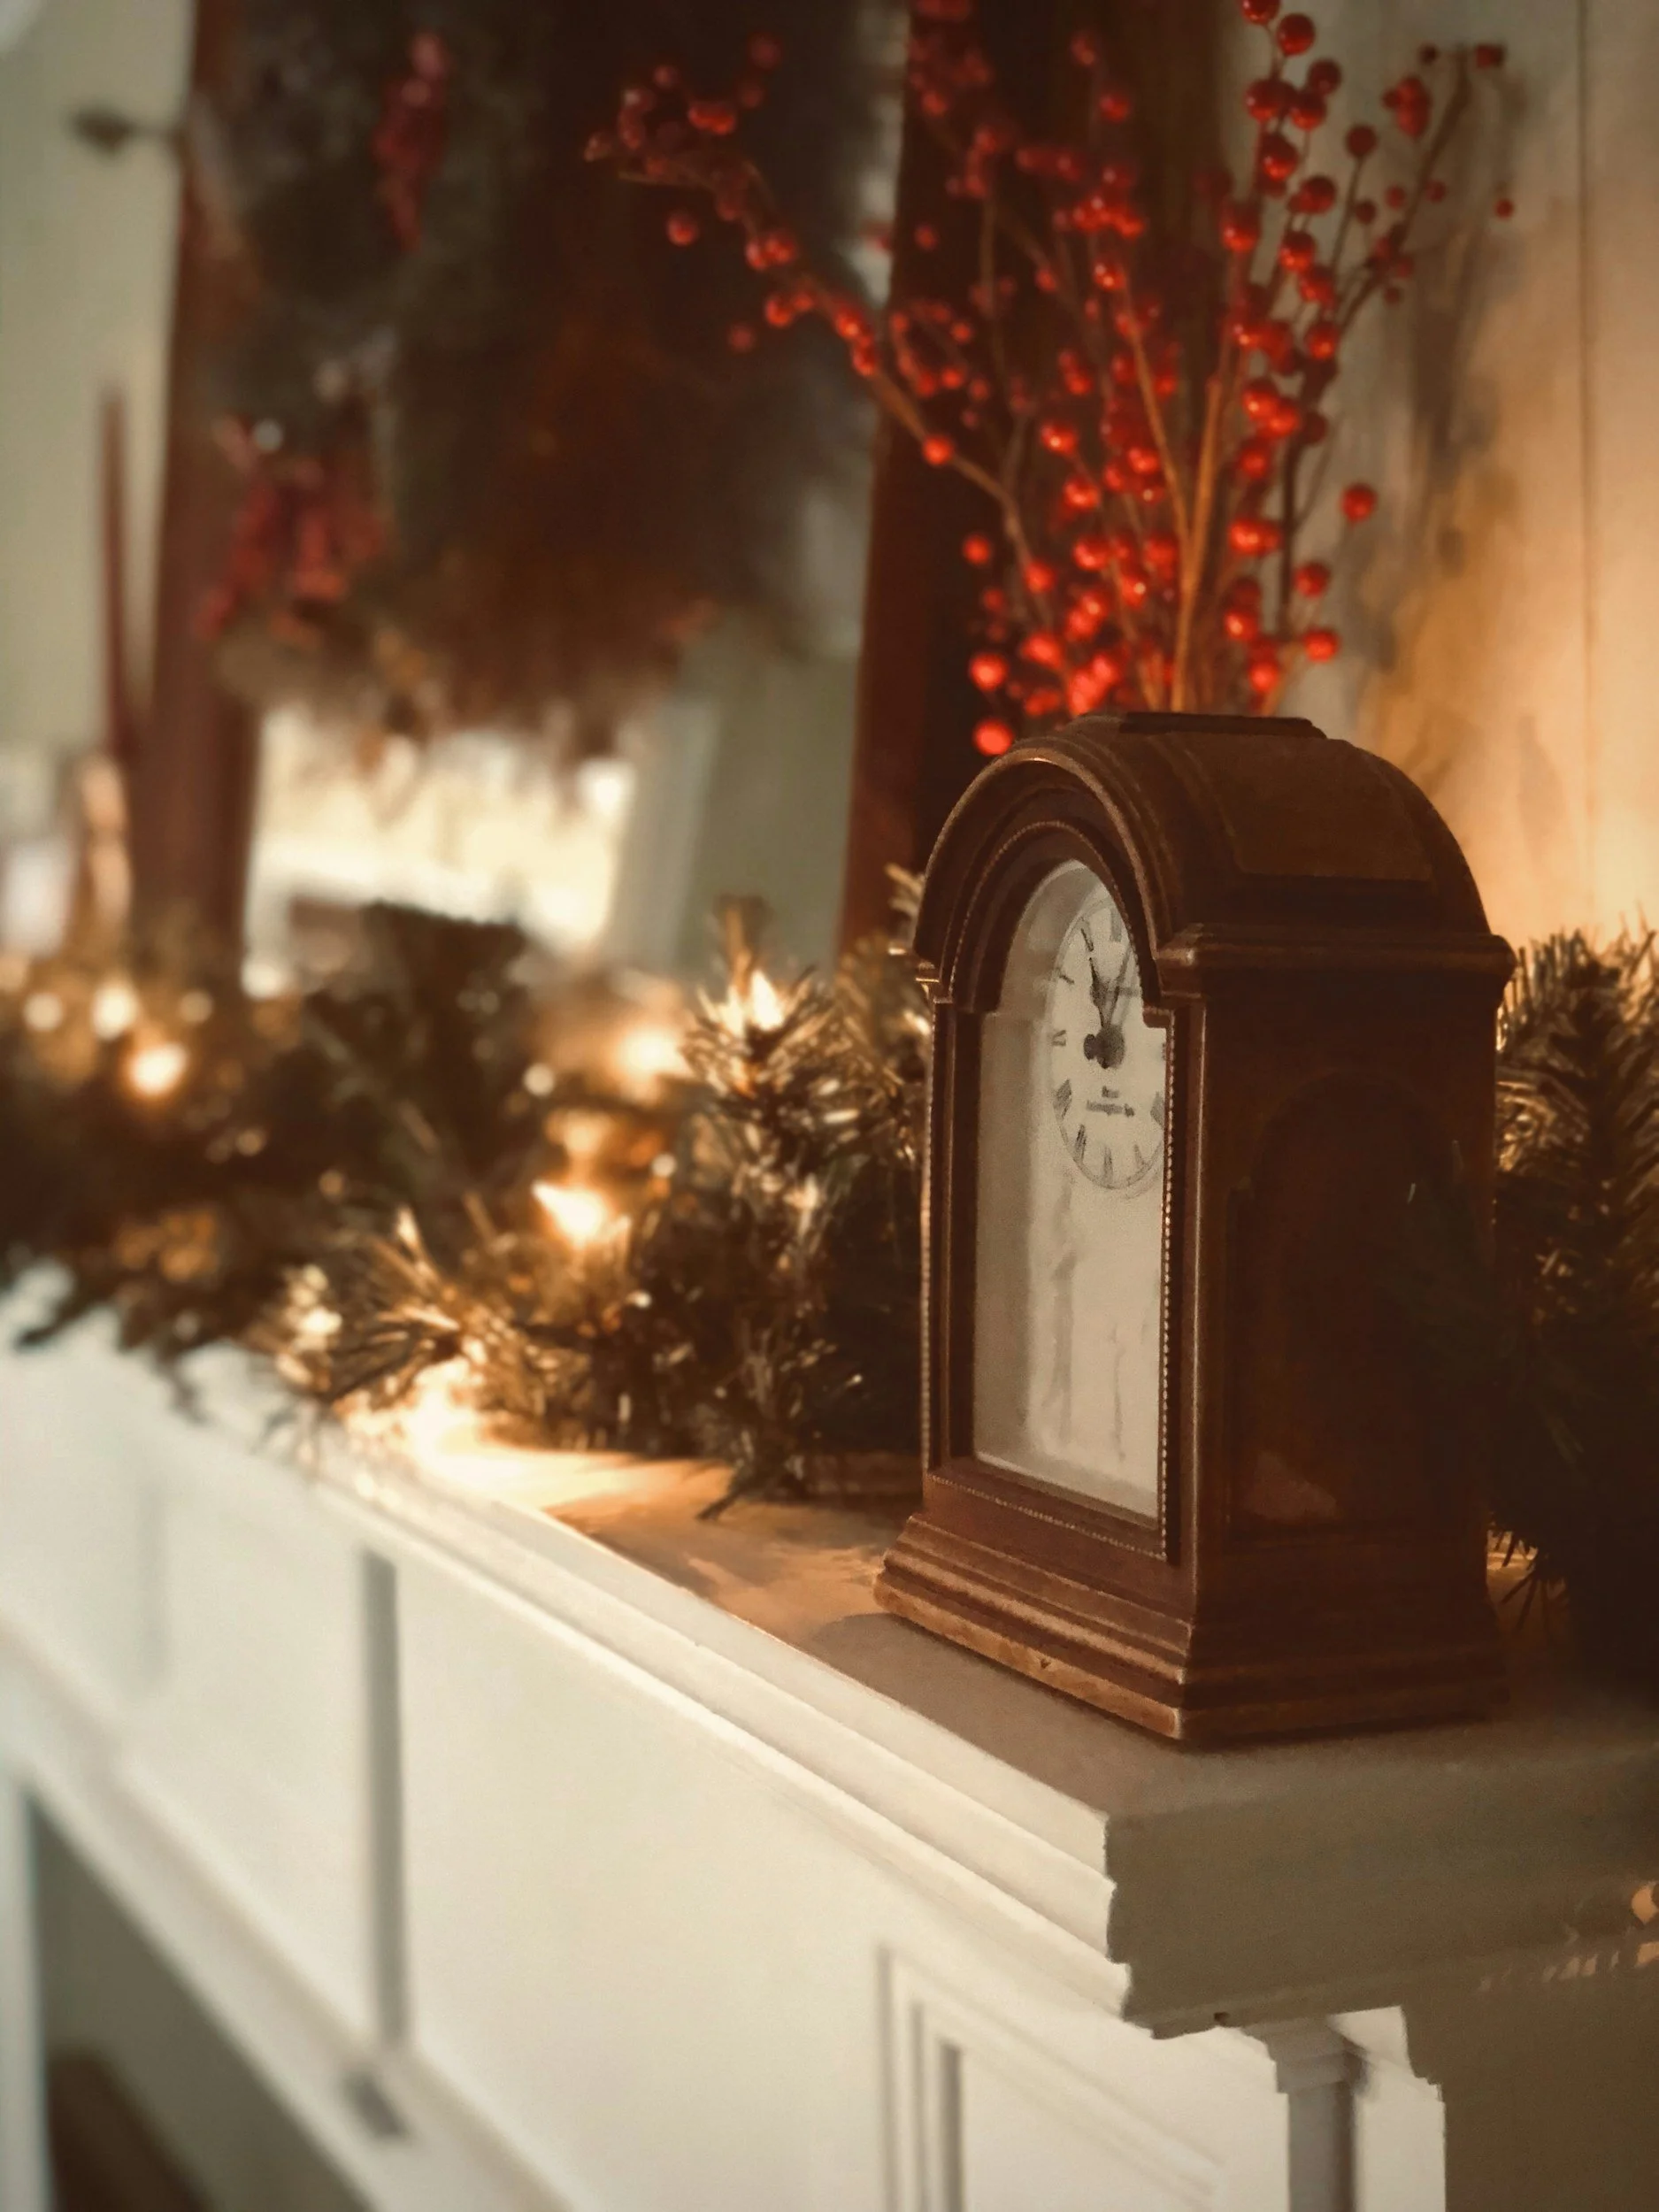
The Asymmetrical Sweep
This is the layout I use when I want the room to feel relaxed but still pulled together. It’s great if your mantel isn’t perfectly centered, or if you’re working with a weird wall (hello, giant TV), or you just want something that doesn’t feel overly formal.
You’ll start by choosing one side to be the “heavy” side (I usually pick the side closest to a corner or wall).
That’s where you’ll place your tallest pieces: candle holders, a vase with branches, maybe even a mini tree.
It’s okay if the items don’t match. Actually, it’s better if they don’t — the goal here is to build height and interest without it looking forced.
Then let your garland start on that side and sweep across the mantel. Not straight or overfluffed. It should drape in a way that feels natural, like it wants to trail off the edge.
And here's a little secret: if your garland looks too stiff or fake, it probably needs weight. I like to layer in a few droopy stems (dried cedar, eucalyptus, whatever I have) to break up the uniformity.
You can also cheat the fullness by stuffing crumpled tissue paper or an old towel underneath in certain spots, then fluffing the garland on top. No one will ever know.
On the opposite side, don’t mirror the tall pieces. That’s the beauty of this setup, you get to leave some breathing room.
Maybe just add a small object tucked in like a little ceramic animal, a bowl with bells or ribbon, or something with texture.
If you're feeling stuck, walk away and come back in ten minutes. Most of the time, the "something’s missing" feeling is just your brain wanting symmetry not your room actually needing more stuff.
The Balanced Layers
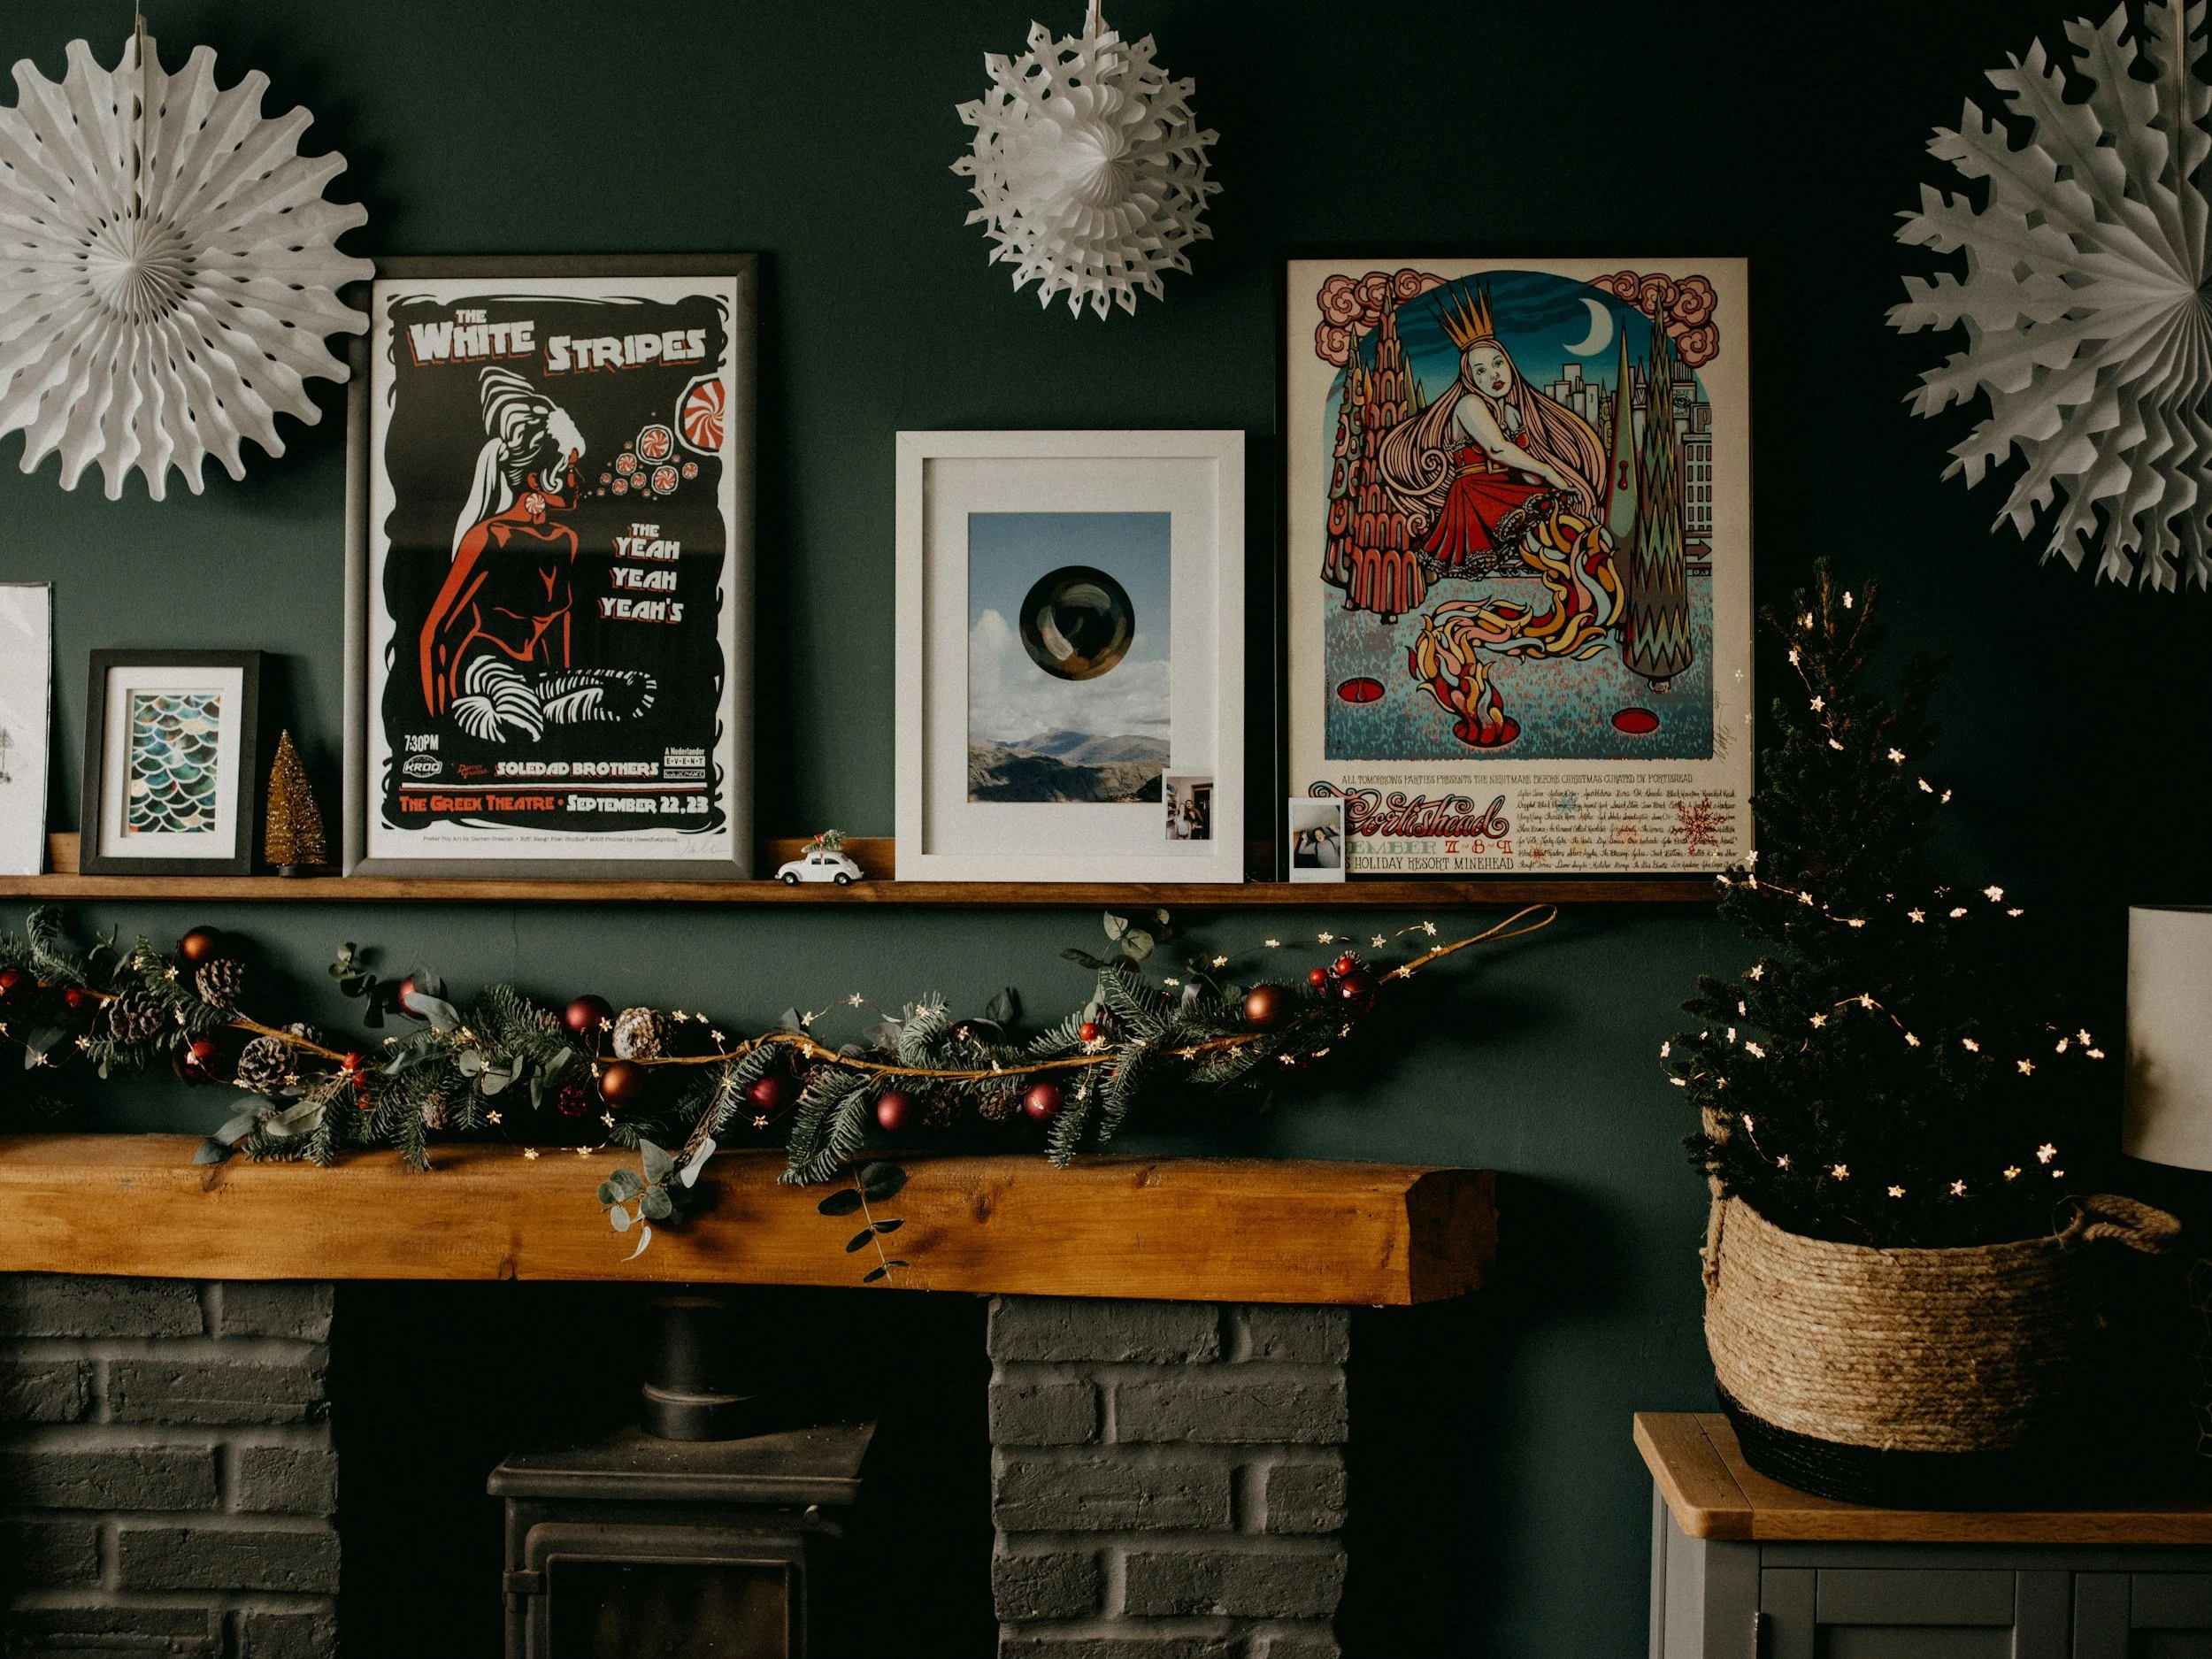
This one’s for you if your style is a little more collected. Maybe you like a mix of old and new, or you’ve got a few vintage pieces lying around and you’re not sure how to make them all work together.
Here, it’s less about symmetry and more about creating something that feels like they’ve been built over time.
Start by layering a couple of pieces against the wall — like leaning art, a mirror, or a print stacked in front of another. This gives you some depth and acts like a mini backdrop for the rest of your styling.
Then build forward from there: vary the heights, textures, and finishes.
A shiny brass taper next to a matte ceramic vase? Yes. A little stack of books with an ornament on top? Also yes.
If something feels awkward or too low, don’t be afraid to use books as risers. (Pro tip: turn the books backward so the pages face out if the spines are too loud. You’ll get the height and a neutral texture at the same time.)
This layout works really well if your mantel is deeper, or if you have a mix of pieces you love but don’t want it to feel too staged. The only rule here is color cohesion.
You can mix styles, eras, and materials but the tones need to feel related. Stick with either warm metals and neutrals or cool greys and silver. If you mix both, it gets muddy fast.
And don’t be afraid to leave some space.
As I like to say, it’s less about matching and more about letting the right pieces find each other.
What’s Actually Killing The Vibe

So, you’ve got the pieces. You’ve got the garland. You’re feeling good… until you step back and something feels weird.
Off.
Not bad, but definitely not wow.
That’s usually where one (or more) of these comes into play. They’re super common, and honestly, once you know what to look for, they’re easy to fix with what you already have.
Everything’s the Same Height
If you line up your candlesticks, vases, or mini trees and they’re all the same size… that’s probably why it feels flat.
Our eyes crave movement and a mantel with no height variation doesn’t give you anywhere to look.
It’s not that your decor is boring. It’s that it’s all talking at the same volume.
Try this instead: Stack one object on a book. Tuck a tall branch into a vase. Raise one candle slightly higher than the others. You don’t need to buy anything new, just try playing with levels.
Your Garland’s Too… Straight
Garland isn’t a border. If you’re laying it across the mantel like it’s edging a tablecloth, that’s where the “meh” comes from.
It might look fine in close-up, but from across the room, it reads as flat and disconnected, especially if it’s stiff or too skinny.
Try this instead: Let it drape. Even just a soft dip in the middle or a slight sweep off one side can make it feel intentional.
If your garland is thin, layer two together or add some texture with ribbon or filler stems. You can even wedge a crumpled dish towel underneath in a few spots to fake the fullness. (Yes. I said dish towel. It works.)
The Colors Don’t Mix
This one’s sneaky. You bought the cute garland, the gold accents, the warm fairy lights but something still feels wrong.
A lot of times, it comes down to undertones. If your garland leans cool but everything else is warm, it can throw the whole thing visually, even if you don’t consciously notice it.
Try this instead: Pick a lane: warm or cool. Match your garland, metals, and lights so they all feel like they belong in the same lighting.
If you’re not sure, look at your room in daylight and again at night as mismatched tones show up more in one or the other.
Girl, You’re Overthinking It
If you’re staring at your mantel so long that your eyes blur and you start spiraling into “maybe I just hate everything,” pause.
That usually means you’re trying to force something to work that doesn’t need to.
Styling is all about problem-solving, not perfection.
Try this instead: Pull everything off and start over. Choose one anchor piece you really love, place it first, and build around it.
Or even better: style it once, then walk away for an hour and come back with fresh eyes. Most of the time, what’s not working becomes obvious once you stop staring at it or you realize you love it.
You’ve Stared at That Mantel Long Enough
Picture this: it’s late afternoon, you’ve got cookies in the oven, a candle flickering, and your friends are stepping in from the cold.
The first thing they do (after inhaling the sugar and cinnamon in the air, of course) is look at your mantel and say, “Wait... this is so cozy. Did you do this yourself?”
And the best part? You did.
Not because you bought out the store or copied a Pinterest board perfectly, but because you took a little time, picked a layout that made sense, and trusted your own eye.
That version of your home — the one that feels effortless but still impressive — is closer than you think.
You don’t need to start from scratch or obsess over every detail. You just need a rhythm.
A few pieces that work together. A setup that makes you feel like it’s all finally clicking.
And if you want help, I linked the exact pieces I’d use and how to incorporate them individually so you don’t have to second-guess anything.
You’ve got the vision. Now bring it to life.